In my previous entry, I shared with you that we finished removing the wall mirror, installing recessed lighting, wall cabinets, under cabinet lighting, painting walls and installing molding. Today, I'm going to share the rest of our wet bar renovation with you.
■Install Backsplash Tiles
We chose white subway tiles for our wet bar backsplash. It's because subway tiles are affordable and have timeless look. Also subway tiles are easy to work with, so these are perfect for DIY beginners like us. Indeed, this was our first time to install tiles. :)
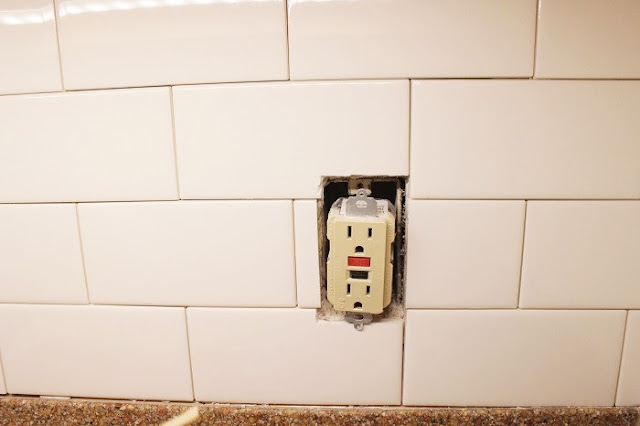
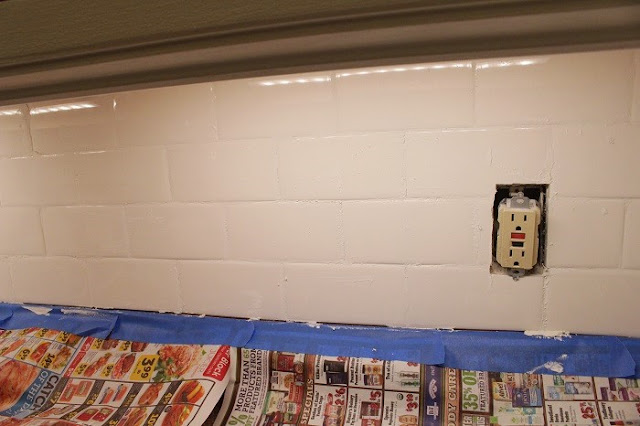
There was a GFCI outlet on the wall we would install backsplash tiles. First, we planned the tile layout. We cut the subway tiles with a tile cutter, Blue Hawk 14-in Snap Cutter, and a tile nipper, Goldblatt 24-in Snap Cutter.
We used this ready to use mortar.
 |
| Mapei Ready to Use White Premium Mortar |
Next day, he applied grout, Custom Grout 381 Bright White NSG3811-4, with float.
We waited for 15 minutes for firm joints. Then, he cleaned off excess grout with damp sponge. Two hours later, he removed haze with cheesecloth. Then, we waited for two days and applied grout sealer, Tilelab Grout Sealer.
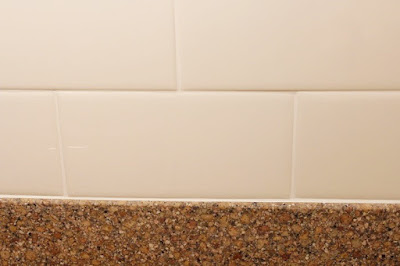
He filled the expansion gaps between granite countertop and backsplash tiles with white grout instead of caulk because it's easier to work with and look better.
■Replace Outlet and Switch
He replaced the old GFCI outlet to new one.
He also replaced the old switch to new one.
I sanded the cabinets and cabinet doors. Then, I painted them with primer, KILZ 2 Latex Primer. Then, I painted them white with Valspar Signature Semi-Gloss Ultra White, which is the same paint we painted on other cabinets in our home. As I mentioned in my previous entry, I am not sure if Valspar Signature paints are the best for painting cabinets because it takes 1 to 2 weeks to dry paints completely. The color was beautiful though. We ordered stainless steel t-bar pulls from eBay. Cabinet pulls are usually so much cheaper on Amazon and eBay than at big-box stores. These t-bar pulls are less than $2 each. :)
■Decor
Finally, we purchased some decorative items for our wet bar.
I purchased this decorative artificial white flowers at my local Marshalls. White flowers are perfect with white backsplash. :)
I also purchased large Portuguese rectangular white plate at Marshalls. I placed some fruit on the plate. :)
■Final Look!
We are really satisfied with the result. We love our wet bar so much. It has modern and clean look.
The unfinished wall cabinets turned into a beautiful built-in cabinet and created extra spaces in our wet bar. :) I saw many photos of wet bars with open shelving on Piterest. I think that open shelving is trendy right now, but I love closed cabinetry which can hide clutter. I can finally organize my mugs, glasses and coffee stuffs now. :) The recessed lighting and under cabinet lighting he installed are so beautiful and functional.
My entries related to home renovations can be seen here.
http://itisapieceofcake2011.blogspot.com/search/label/home%20renovations
My entries related to wet bar renovation can be seen here.
http://itisapieceofcake2011.blogspot.com/search/label/home%20renovations%20-%20wet%20bar
These are my entries you might like.
■Before and After Master Bathroom - New Shower Handles, Tub Spout And Shower Heads
■ Shower Tile and Bathtub Paints
■ Before and After Door Hardware - From Door Knob to Door Lever
■ Before & After Painting All Cabinets
■ How to Install New Outlet Cover Plate - Hubbell Taymac Revive Decorator Wall Plate Review
■ How to Install A Spring Door Stop
■ Before and After Kitchen Flooring - Easy and Affordable Peel-And-Stick Vinyl Flooring!
■ Built-in Trash Cans - Before and After


No comments:
Post a Comment